


1 System Requirements
The following development environments must be installed before SophiaCompress(Java) OASIS.
* In this Quick Guide, settings for Doja-4.0 of NTT DoCoMo are used as an example.
![]()
2 Installation
2.1 Starting the Installation
To install, double-click the installer icon of SophiaCompress(Java) OASIS. An InstallShield wizard will take over to guide you through the installation.
2.2 Choosing the Language
Choose English or Japanese, and SophiaCompress(Java) OASIS and its manuals will be installed in the selected language.
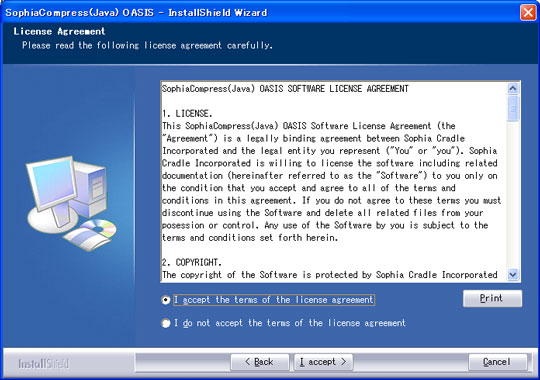
2.3 License Agreement
Read the license agreement carefully. To accept the agreement, check [I accept the terms of license agreement] and click [I accept] to proceed to the next step.
2.4 Installation Completion
The installation is finished when the InstallShield wizard displays [Installshield Wizard Complete].
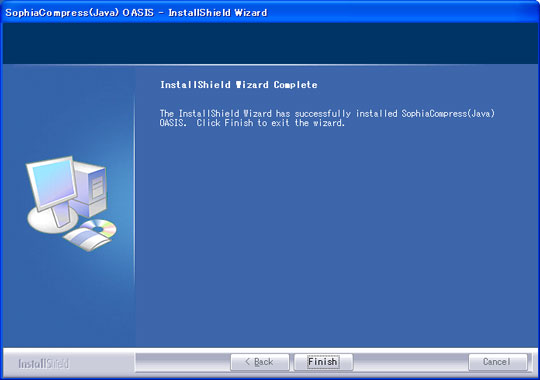
The shortcut icon for SophiaCompress(Java) OASIS is generated on the desktop.
![]()
3 Startup
3.1 Booting SophiaCompress(Java) OASIS
SophiaCompress(Java) OASIS can be booted from the Windows [start] -> [programs] menu, or by double-clicking on the shortcut icon on the desktop.
3.2 SophiaCompress(Java) OASIS Initial Boot Up Window
When booting up
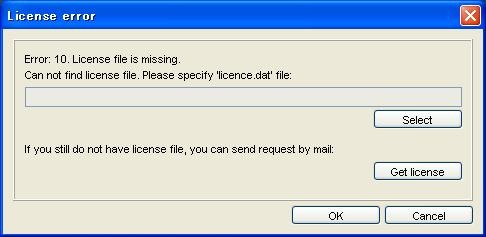
If you do not have a license file, please request one by pressing the [Get License] button.
* All the [Customer information] below must be filled in and emailed, to obtain a license file.

When a valid license file from Sophia Cradle is specified, SophiaCompress(Java) OASIS will start.
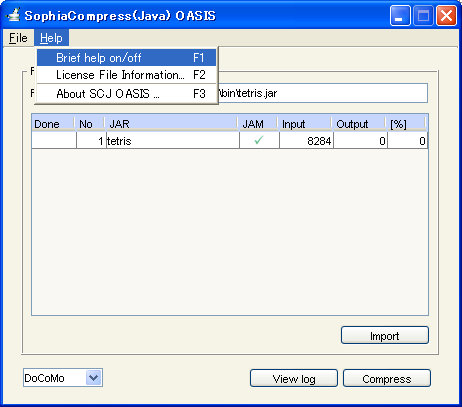
* The [Brief help] option is also available to first time users.
![]()
4 Setup
Select [File] -> [Preferences...] to open the Preference window.
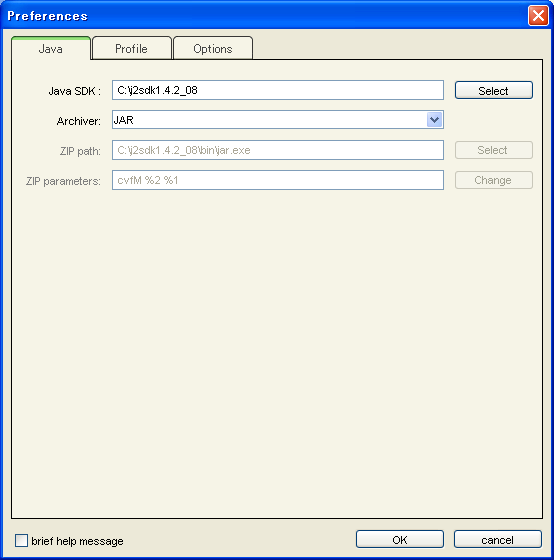
4.1 Java Setup
Click on the [Java] tab.
If [Java SDK] is empty, set up the JAVA_HOME path where Java SDK is installed using the [select] button.
The JAVA_HOME path can be set up by selecting the path of bin\java.exe in the Java 2 SDK, for example C:\j2sdk1.4.2_08\bin\java.exe.
4.2 Profiles
Click on the [Profile] tab, to set the profiles for each mobile phone carrier.
* DoCoMo is selected at the default status. In case of NTT DoCoMo Star / DoJa profile, select this option. It can be switched using the [Profile] list on the left.
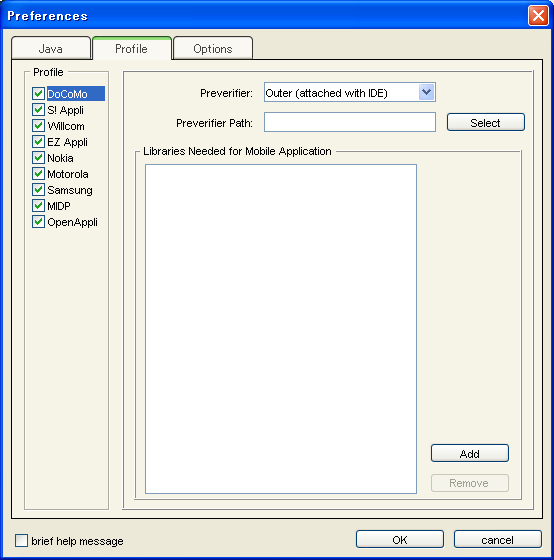
4.3 Setting the Profiles
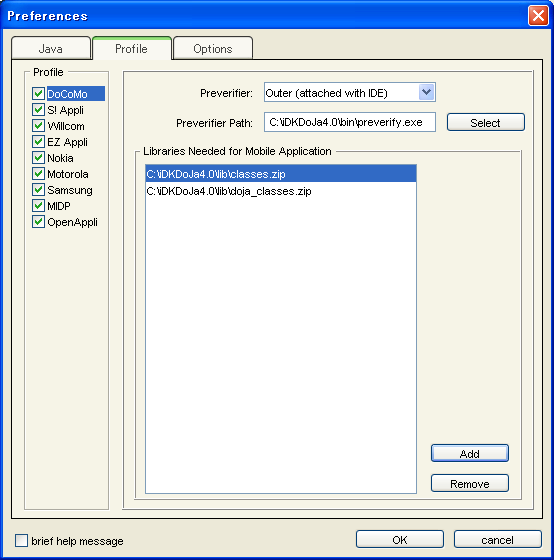
Select a [DoCoMo] from the [Profile] list, and specify the following files.
| Preverifier: | C:\iDKDoJa4.0\bin\preverifier.exe |
| Libraries: | C:\iDKDoJa4.0\lib\doja_classes.zip C:\iDKDoJa4.0\lib\classes.zip |
* In this example, DoJa-4.0 is installed in C:\iDKDoJa4.0.
* In case of Star-1.0, which is installed in C:\iDKStar1.0, Select a [DoCoMo] from the [Profile] list, and specify the following files.
| Preverifier: | C:\iDKStar1.0\bin\preverifier.exe |
| Libraries: | C:\iDKStar1.0\lib\star_classes.zip C:\iDKStar1.0\lib\classes.zip |
![]()
5 Compression
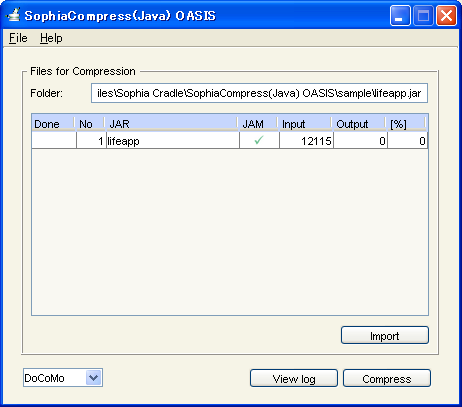
5.1 Choosing the File to be Compressed
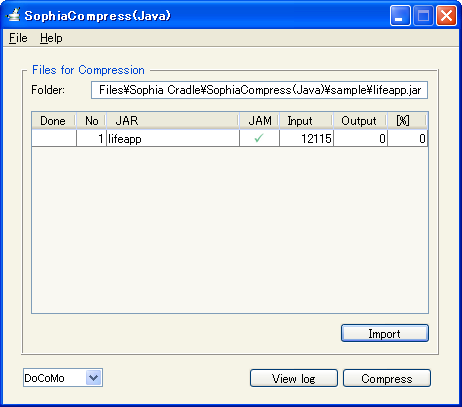
Select the JAR file to compress using the [Import] button in the lower right corner.
We are going to compress the LifeGameApplication in the following path.
- Product Edition : C:\Program Files\Sophia Cradle\SophiaCompress(Java) OASIS\sample\lifeapp.jar
- Evaluation Edition : C:\Program Files\Sophia Cradle\SophiaCompress(Java) OASIS Trial\sample\lifeapp.jar
A JAM file is automatically selected when a JAR file is selected.
5.2 Compress Now!
A simple click of the [Compress] button on the lower right corner, compresses the JAR file.
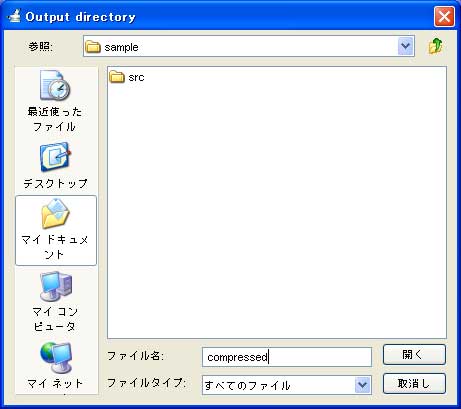
The compressed files will be saved in the following folder of your choice.
- A folder that already exists.
- A new folder created by inputting a new name.
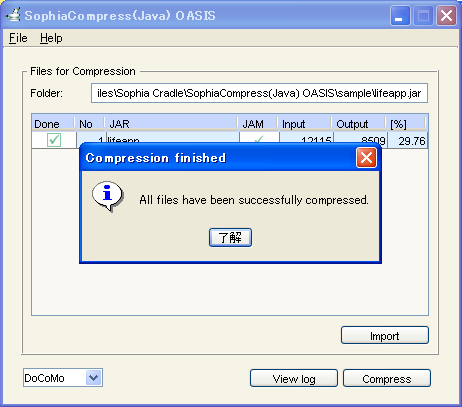
5.3 Compression End
The compressed files are now saved in the folder selected during step 5.2.
![]()
Related Information
![]() SophiaCompress(Java) OASIS User's Manual
SophiaCompress(Java) OASIS User's Manual
![]()